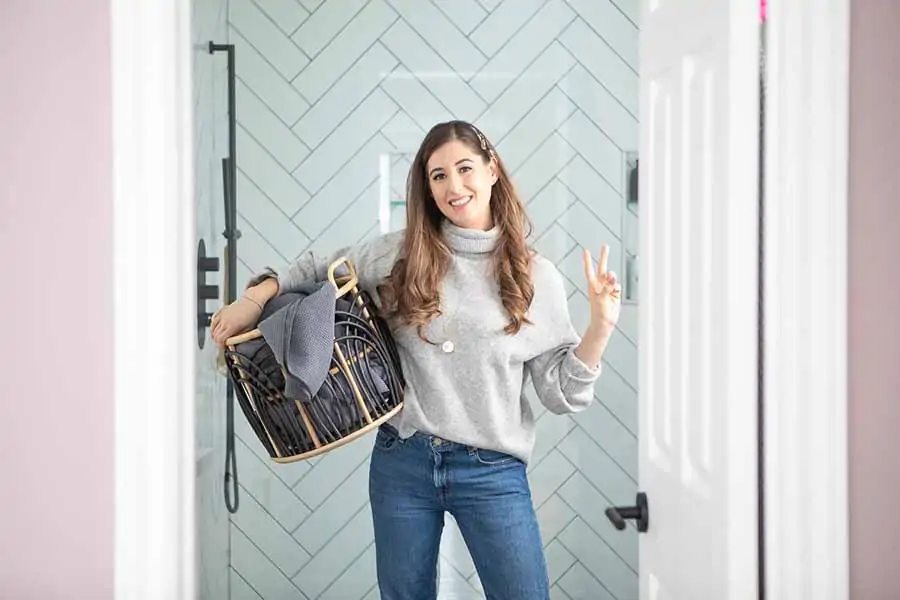
Are you plagued by wrinkled clothes!? OK, that’s a little dramatic. But seriously, we’ve all had that experience of pulling an item of clothing out of a closet or drawer and realizing it’s too wrinkled to wear. And let me be the first to say, it totally blows when that happens! That’s why after many years of annoying wrinkled clothes I finally invested in a clothes steamer. And let me tell you, I never looked back.
As soon as you start using a clothes steamer, you’ll ask yourself how you ever functioned without one. I know it’s a daunting tool at first. It shoots hot steam–yikes! But never fear, because I’m going to teach you how to use a clothes steamer right now. So, if you don’t know how to steam clothes, and you are sick and tired of wrinkled clothes, keep reading. By the end of this article, you’ll know how to use a clothes steamer like a pro, as well as the difference between steaming and ironing.
Choosing a Clothes Steamer
When you’re in the market for a clothes steamer, you’ll come across a variety of large, upright steamers. You know the ones that look straight out of The Jetsons? These large steamers work just fine, but personally I don’t want to store something so cumbersome in my home.
Instead, I opted for a small handheld model. My recommendation for a great, compact clothing steamer is the Reliable Dash 150GHB Portable Garment Steamer. It’s nice and small (even small enough to travel with!), it heats up quickly, and it can be used on many types of fabric.
But if you want to shop around, here are a few things I recommend looking for in a handheld steamer:
- It’s easy to fill. A good handheld steamer will have a reservoir for water that easily pops in and out so that you can fill it without bringing the rest of the machine with you.
- A continuous steam button. This way, you don’t have to constantly press and move your hand at the same time. That can get exhausting pretty quick.
- A well-made soleplate. This is essentially the same as the metal part of an iron. If steaming isn’t quite doing the trick, a well-made soleplate means you can hold the steamer right up to the garment and get in a little bit of ironing action.
- Good high pressure. We want all of those wrinkles gone, after all!
- A lint brush or an attachment for delicates. This makes your steamer so much more versatile so you’ll be prepared for anything life throws your way (well… at least in relation to wrinkled clothes).
Clothes steamers range pretty drastically in price. And while you don’t want to break the bank, it’s important to keep in mind that if you spend a little extra money, you get a better quality machine. And you all know my motto is buy once, buy well.
How to Set Up Your Clothes for Steaming
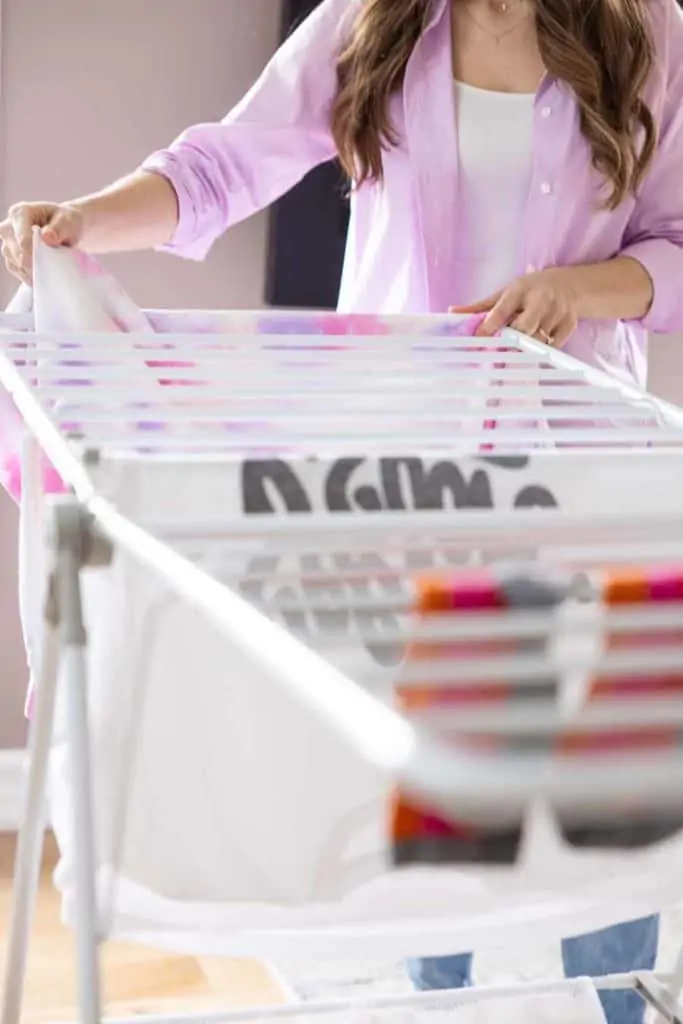
The setup for steaming clothes is simple. You need a sturdy surface to hang your garment so that you can gently tug and move it around. The most common item to use would be a drying rack.
Alternatively, you could head over to the dollar store or the hardware store and pick up one of those removable hooks that hang over the top of your door. Any inexpensive option will do the trick, really. I’ve even used a camera tripod I had lying around after filming a video for our YouTube channel.
How to Steam Clothes
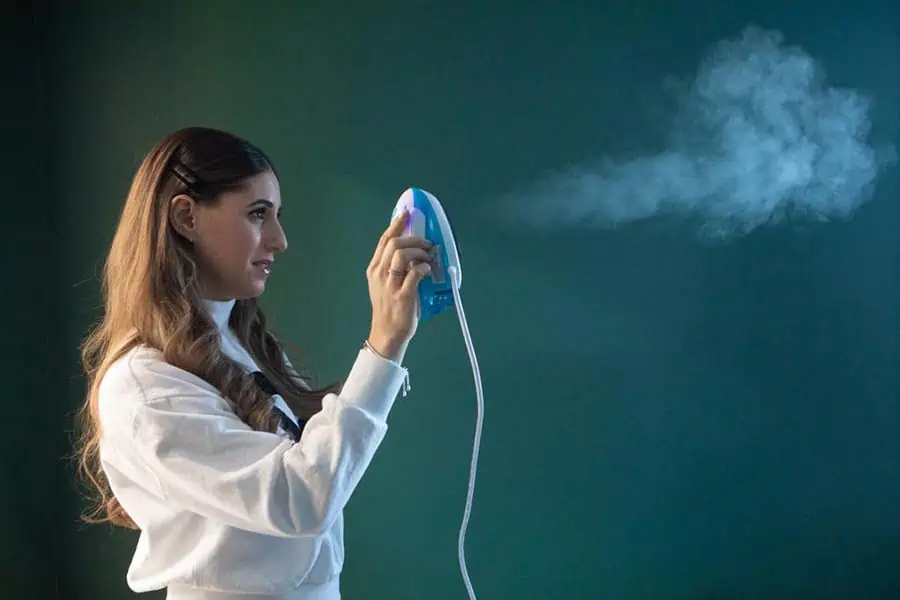
Most clothing steamers work the same way, but it’s worth taking the time to make sure you understand how your particular unit works, so always read the instructions.
In general, you’re going to fill up the reservoir with water, connect any attachments you’re using, and plug in your clothing steamer. When the light on your device turns on, it’s ready to go.
Before I start steaming up a storm, I like to activate the steam button continuously for about a minute. This is an important step. You want to begin your work with a nice, consistent stream. If your steamer sputters, don’t worry. That means some water was left behind from your last use.
Now let’s get down to business. You don’t want to try and steam the whole item at once. Instead, think of your garment in sections and steam one at a time, moving section to section. Just like in cleaning, we work top to bottom. Hold the garment taut from the bottom, and gently work your way up and down section by section.
If there’s a particularly stubborn wrinkle, you can hold the steamer over that section for longer, up to 30 seconds. What we are doing here is shooting steam into the fibers of the garment. The heat will relax them, releasing wrinkles and odors.
For sleeves, I like to put my free hand inside to help spread things out. As I work my way from the shoulder to the cuff, I move my hand out of the way. Work slowly, and hold the steamer over difficult areas for an extra few seconds. As I mentioned above, if your steamer has a soleplate, you can cheat by holding it against the wrinkle and using it like you would an iron.
Steamer beware: if you hold your item too tightly, you can actually form a new crease as you’re steaming into it. That would be a colossal waste of your time. And there are plenty of more fun ways to waste your time, so I recommend avoiding this at all costs. That’s why it’s essential to constantly move your garment as you steam.
We’re not looking for perfection; we’re just looking to get rid of wrinkles. Once you are finished steaming, your garment will feel wet for a couple of minutes. Let it dry and settle before you put it on or else the wrinkles will reform.
How to Use a Clothes Steamer on Delicates
Damaging any of your delicate clothing is a travesty. But you also can’t wear it out if it’s covered in wrinkles. That’s where the delicate attachment for your steamer comes in. Just pop it on before you activate the steam.
The attachment separates the soleplate from the fabric, so it doesn’t scorch the garment. But even with it connected, make sure you test in an inconspicuous area first. Better safe than sorry.
I always look at my test area and ask myself, “Is this puckering? Is this going to ruin my garment?” Give yourself a minute, and if things are going smoothly, continue to carefully steam the delicate, working section by section.
Should You Use Distilled Water or Tap Water?
There’s a hot debate about using distilled water or tap water in your clothing steamer. So I’m going to chime in. Always check the manufacturer instructions for your garment steamer. If the instructions require, use distilled water.
If you live in an area with hard water, use distilled water. This is because hard water can leave behind mineral deposits. These look like little white flakes and they’re pretty gross. They can also clog up your machine over time. If you live in an area with regular water, congratulations! Go ahead and fill up your steamer straight from the tap.
Ironing vs. Steaming
A steamer is great for working out wrinkles in items that are difficult to iron, or garments that don’t require a crease. What steamers aren’t good for is stubborn fabrics like linen or thick cotton shirts. In these cases, you’ll want an iron. And if you’ve used a steamer on a garment and the wrinkles refuse to come out, then it’s time to use an iron.
The benefit of an iron is to use pressure along with steam and moisture to loosen wrinkles. The downside is that it takes a lot longer than steaming. If you need a perfectly done collar, cuff, or crease, pull out your iron. If you’re a person who likes to press your napkins, sheets, or other linens, you’ll need to use your iron. But, if you’re simply trying to de-wrinkle regular garments, reach for your steamer!
Psst… to read more about ironing, check out my Ironing Tips!
Wrinkled Clothes Begone
If you’ve made it to the end of this article and obviously you have, you are now a clothes steaming pro! You can officially look forward to wrinkle-free clothes! Just remember to work in sections and use distilled water when necessary to keep your clothes steamer working smoothly.
If you try out any of these tips and show off your perfectly steamed clothes on Instagram, tag us @cleanmyspace! We want to see your wrinkle-free garments. Welcome to team steam!
Looking for a BETTER & EASIER Way to Clean Your Home?
Cleaning Expert Melissa Maker is here to help with her game-changing 3 Wave Cleaning System that will help you clean your house faster and easier than you ever thought possible!
")

 Clean with Vinegar!")

")


 Clean with Vinegar!")


[…] should be included in a commercial steamer with a capacity of 1 gallon. When treating bed bugs, steam clothing used incorrectly will not be effective. It is not a good idea to use a carpet cleaning […]
[…] How to Steam Clothes: Wrinkled Clothes Begone! […]