2020 has brought us many things, one of which, is that I can now show you how best to clean a non-self-cleaning oven! Now, why, may you ask did this happen this year? Well, my self-cleaning oven died recently so it’s going to oven heaven, which means I don’t have to worry about potentially voiding the warranty and can clean it manually now! Now, if you don’t have a self-cleaning oven or if it has also gone to oven heaven, then you’ve probably been waiting a long long time to give it a good clean and this article should hopefully give you some new tips and tricks.
Cleaning your oven really is a choose-your-own-adventure type of cleaning experience because you can dial it up or dial it down as much as you like. Depending on how much effort you feel like putting in, you can really go full force into it or you can stick to a more minimal clean.
First and foremost, cleaning the oven really should happen on a regular basis. There isn’t an exact amount of time that should go in between cleanings but you’ll know based on how frequently you use the oven, and how often things bubble up and over your dishes. If you start to see spills or a crusty buildup at the bottom of the oven then you’ll want to give it a good clean. If you leave it there then it will cook and cook and cook until it becomes carbonized and blackened, eventually smoking, giving your food a bad taste and making you think there’s a fire. So, it is really important that you stay on top of this and make sure that you’re cleaning your oven when you start to see and smell those cues!
If you have a convection oven or one with a fan of any sort, then you will want to make sure that you’re not getting any cleaning product on there at all. You’ll also want to avoid getting it on any burners, coils, or heating elements so that you avoid damaging them and anything else inside your oven.
Now, let’s talk about those two glass panes in the oven door. Let’s be honest, these are so tough to clean and the truth is you can’t really get in between them. Well, you can, but you would totally void the warranty on the thing if you take apart the door, because of course manufacturers don’t like when we try to do that stuff ourselves. So, for this, I say leave it. Don’t take your oven door apart, it will only be a hassle and will void your warranty.
Usually, I like to start with different, simple cleaning products and easy-to-find household cleaning tools. Simple is always best. Oven cleaning doesn’t have to be complicated and it doesn’t have to be harsh. I’m not a firm believer in using heavy-duty oven cleaning chemicals because they can be very toxic and I don’t want those in a place where I heat and cook food for my family. All you have to do is know what you’re doing and have a plan of attack.
All you will really need is paper towel, a microfiber cloth, a Scotch-Brite heavy-duty scrub pad, dish soap, baking soda, and vinegar. I bought most of it from a bulk store and it is so cheap and easy to use. It is also good to have some sort of scraper with you, like an old windshield scraper or an old credit card, and some steel wool. Recycled newspapers can be used instead of paper towel if you’re looking for a more environmentally friendly option.
Today, I’ll also be cleaning the drawer under the oven, so I’ll start by removing everything from the drawer. Next, we remove the oven racks and place them in the bathtub. Strange, I know, but it really is the best way to give them a good clean without making a mess everywhere. We won’t be going into how to clean the oven racks today but check out this other article we have to get more tips about the messy business of oven cleaning.
It’s always good to consider lining the floor around the oven with newspaper before you start scraping and cleaning, as it helps avoid additional clean-up afterward. Looking inside the oven cavity you’ll see that there’s quite a lot of build-up in the corners, along the walls, and ceiling. Some of the build-up is loose and some has hardened quite a bit, so it’s good to do an initial scraping and wiping with a paper towel before you have to go in and do the real scrubbing.
Now, it’s time to get serious. I’m making up a cleaning solution made of four-part baking soda, one-part dish soap, and one-part water. Just give it a good stir and you should have a great cleaning paste, adjusting the thickness as needed. When applying it, I make sure to cover the walls, floor, ceiling, and door of the oven entirely. Now, there might be a more elegant way of doing this, but I like to just use my hands to put the solution on, spread it everywhere, and let it pre-treat.
Now, it’s time to tackle the drawer. Take the handheld vacuum and clean up the space under and around the area where the drawer sits. Take some paper towel and a good cleaning spray, and wipe down the drawer, clearing any sticky debris or old bits of burnt food. This is the best way to clean the drawer as I can’t really put it in the sink. First, I use a soap-filled sponge to give it a good scrub. Then, I use a wet microfiber cloth to rinse the interior of the drawer and I put it aside to dry. Check out Maker’s Clean Multi-Colored Microfiber Cloths for all your cleaning needs.
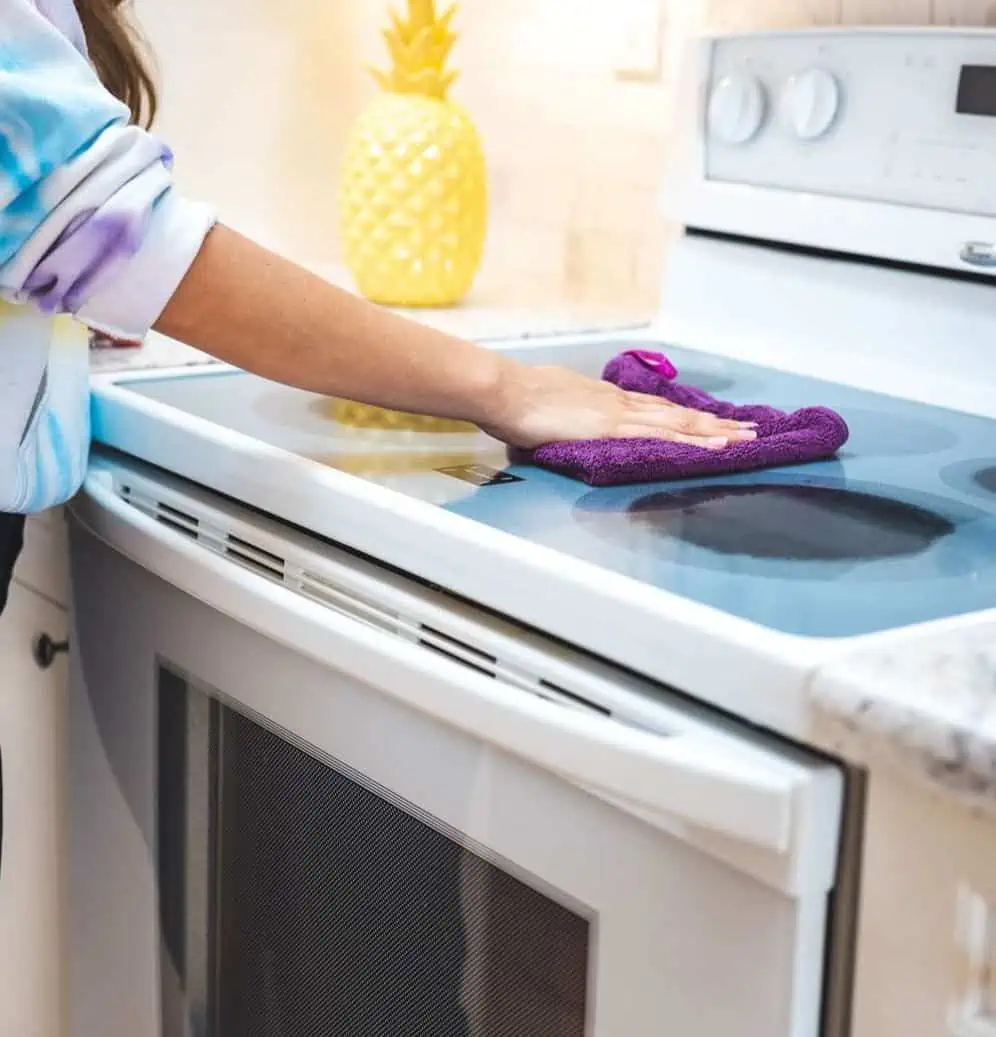
Finally, we return to the stove, which has been soaking in the DIY solution for about 30 minutes. Take the Scotch-Brite pad, soaked in a bit of water, and begin to scrub away at the walls, floor, ceiling, and door. A little pro tip here, toss a folded towel on the floor so that your knees don’t start to ache. I also like to use the scraper here for any parts with heavy-duty gunk or build-up. Make sure to also clean the oven window, which can be done with a DIY solution or one of our favourite products, Bar Keepers Friend. It should only take 5 to 10 minutes to scrub away at the interior of the oven, but it will be well worth the elbow grease.
Now, using water and a microfiber cloth, rinse the inside of the oven, making sure to clean up all of the residue left from the baking soda. I like to finish the interior with a vinegar rinse and a final wipe-down with your trusty microfiber cloth.
The interior oven window can often times get very greasy and grimy, so it’s good to pay it a little extra love and break out Bar Keepers Friend. Do be careful, as the product is quite strong and should only be used on the glass and not the inside of the oven itself. Sprinkle some water and Bar Keepers Friend onto the glass, giving it a minute to do its magic.
Take the heavy duty scrub pad and get all that build-up off of the glass. Next, we use a microfiber cloth dampened in water, to rinse the Bar Keepers Friend off. It really does take a serious effort, but you’ll thank me when you’re done and you’re actually able to see what’s going on in your oven.
Now, things are complete. You know how to clean your non-self-cleaning oven. I hope that these tips and techniques have helped you and made you feel more confident in approaching this tough but necessary task. Yes, it’s going to take a bit of time, but once you have a method, a strategy, and you know how to approach it, you’ll do it efficiently and with great results!
If you have a self-cleaning oven check out our article on How to Clean a Self-Cleaning Oven.
Looking for a BETTER & EASIER Way to Clean Your Home?
Cleaning Expert Melissa Maker is here to help with her game-changing 3 Wave Cleaning System that will help you clean your house faster and easier than you ever thought possible!
")
 Clean with Vinegar!")


")


 Clean with Vinegar!")


